

Recorded from TV means there is a lot of advertising, so I looked for a way to cut out the ads.
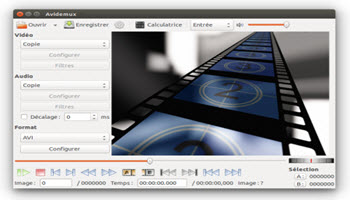
I settled on using a program that I’ve used before called “Avidemux”.
Remove The Ads
Open the program and click on “Open File”. Select your video.
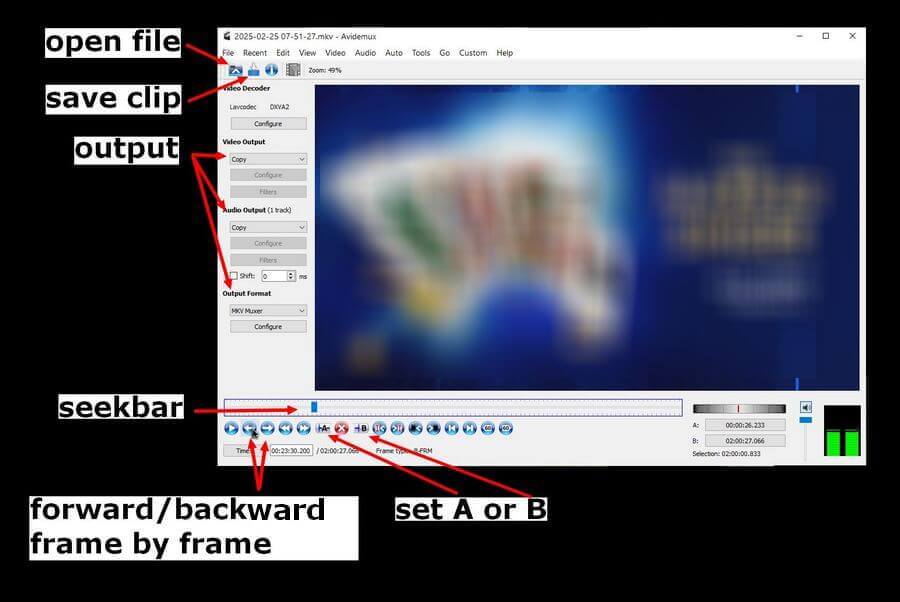
I use the video controls at the bottom of the screen and the seek bar to mark out the video that I want to save. I started at the beginning of the movie and then clicked on the “A” button to set my first point. Then, I moved the seek bar to where the first block of advertising starts. Between where the movie fades out and the ads begin, I click on the “B” button to set my second point.
To save the clip, click on the “Save clip” icon, or you can use the File menu. For the outputs, I left everything on “Copy,” so it would use the same video and audio codecs as in the original movie.
Now repeat for the entire movie. I ended up with nine different parts.
How To Stitch These Parts Together?
To do this, I used a program called “Shotcut”.
I watched a few videos online about using Shotcut, and I think I could have used this one program to do it all. But for now, I’m going to concentrate on merging these nine files into one.
Open the program. I changed my “Project folder”. You can leave it at the default. Your system/video folder. Your choice. I put in the project name “Test” because I’m going to run a test on only two videos. I want to see how it works out.
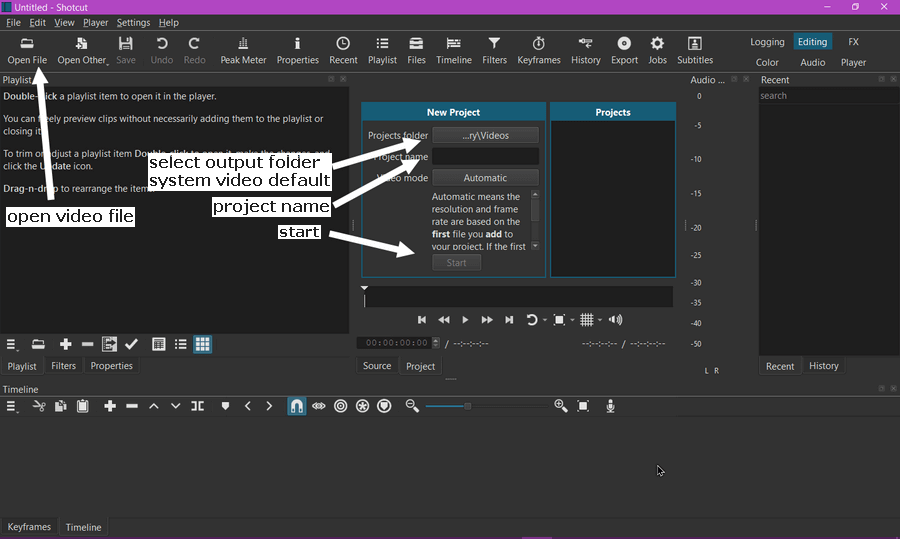
I clicked on “Start.” I clicked on “Open File” from the top menu. I selected my first video. You see a video preview in the middle of the screen. I used the video controls directly under it to pause the video.
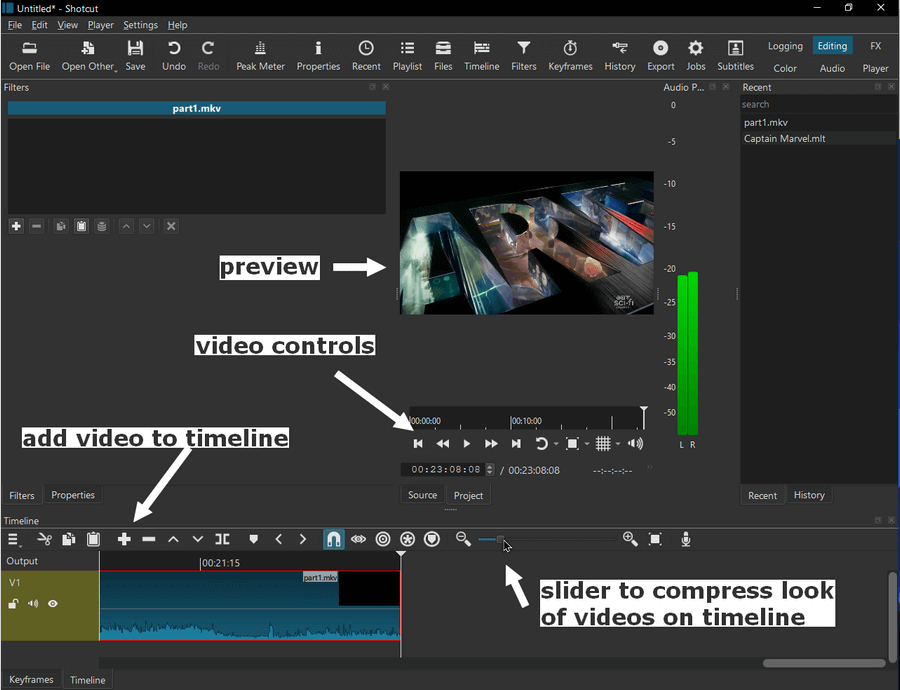
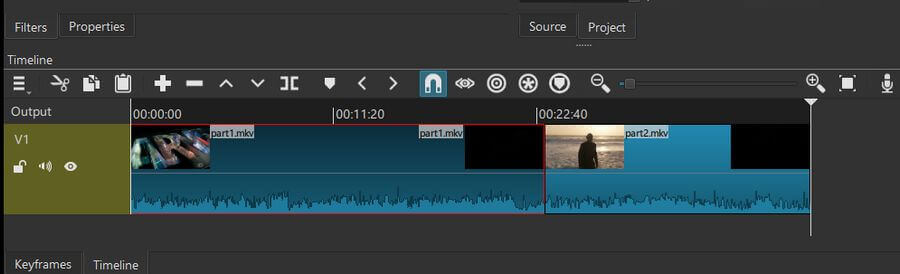
I clicked on the “plus” icon above the Timeline to add the video to the Timeline. I used the slider to change the way the videos are displayed on the timeline.
I go to Open File again, select my second video, and do the same thing. Now, I have two videos on the timeline. I’m going to save this to test it out. If it works, I’ll restart and add all nine parts to the Timeline.
Click on the “Export” button in the top menu. A menu of presets opens on the left side. I didn’t change anything but clicked on the “Export File” button. Name it and save it.

The result was an MP4 file. 38 minutes long and 909MB in size. It took about 15 minutes to complete. The video and sound quality were pretty good.
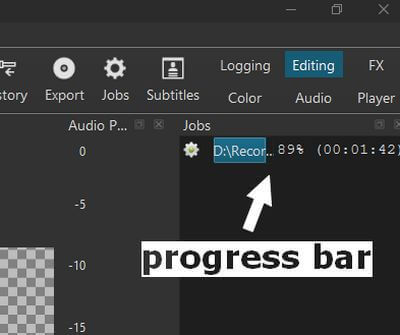
The progress bar appears on the right side in the “Jobs” section.
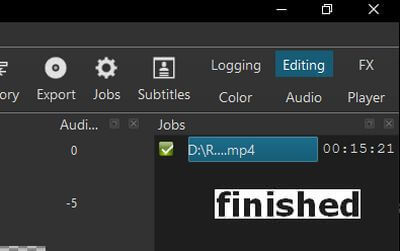
A white check mark in a small green box appears when the job is done.
So, I started a new project with all nine parts. It took around 39 minutes to finish. The result was a 1 hour 46 minute movie. 2.4 GB in size. No advertising.
I wonder how much I could have done alone in Shotcut. I also discovered I could have done more with Avidemux. I don’t always take the shortest route, but I get the job done. 🙂
For more articles on recording, click here.
Remove Commercials From Recording – Part 1 ⬅ You are here
Remove Commercials From Recording – Part 2 (Pending)


All the work can be done in Avidemux. It is necessary to reverse the procedure. We don’t need to mark the parts we want, but the parts we don’t want. Then just delete them with the Delete key.
Yes, thank you. I did figure that out eventually. Read Part 2 when it becomes available.