Galaxy S3 Foibles
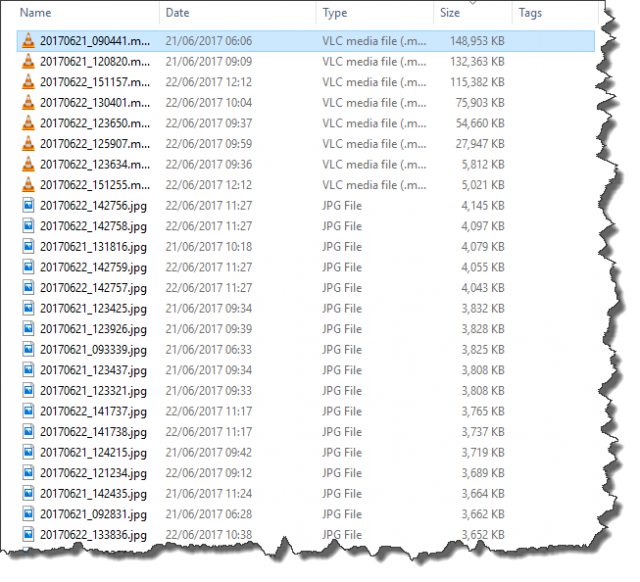
Last month we returned from a three week European visit during which my wife’s Galaxy S3 began playing up and photos she had snapped were coming up blank or simply black images in the phone’s gallery. I quickly checked that what photos she had taken had been backed up to Google Drive and reconfigured the phone to save new shots to the phone’s 16Gb internal memory instead of the SD card. On our return I set about trying to recover as much as I could from the 16gb SD card, but soon became disappointed with the initial results. Both Recuva and ZAR X, whilst great programs in themselves, didn’t recover more than I could already see on the SD card as per the image below.
The .mp4 and .jpg files showing on the SD card wouldn’t show a thumbnail and were likely corrupt as they couldn’t be opened, but perhaps there was a chance that they could be repaired? I investigated numerous online file repair services but wasn’t inclined to upload personal photos that even I didn’t know could possibly look like, even though I knew the content to be purely touristic as it were.
I then scoured around for other data recovery programs – and they are legion – and for no other reason than EaseUS has a high reputation for quality software, particularly their disc partition programs, I downloaded EaseUS Data Recovery Pro and ran a scan of the troublesome SD card. The free version has a limit of 2Gb of data recovery and, bearing in mind I had about 12Gb to recover, it was very much a trial exercise.
To my delight the program recovered the 2Gb of data allotted to me on the trial and photos that had been otherwise blank were now visible and perfectly normal.
This convinced me that the program was a worthwhile purchase and, hoping that it would be more than useful in my technician toolbox I raided PayPal, activated the software on my sacrificial working computer in the shop, bearing in mind that the license is single use only for one PC and proceeded to recover the remaining 10Gb of photos and video clips on the SD card without a hitch. In fact, the program created several new folders of hidden Android files and every single photographic memory was therefore rescued and passed on to my wife who, needless to say was delighted with the result.
Putting EaseUS Data Recovery to the test
Serendipitous as it may sound, the following week a desperate looking man walked into the shop with a Compaq Presario all-in-one under his arm, saying that it wouldn’t boot to Windows, he suspected that a disgruntled employee may have sabotaged it and could I please try my best to ‘get whatever you can off the machine‘. Music to my ears as it happens and I was only too happy to oblige the desperate looking individual, knowing that I had a new weapon in my arsenal, yet adding of course that I was certainly not making any promises.
The machine was in a booting loop of HP automated recovery and since there was a danger that a clean install of Windows 7 would be carried out and possibly wipe the disk, I removed the hard drive and connected it up to my work PC to see how the land lay. A quick check in Windows Disk Management revealed that the 500Gb drive was split into three partitions – system, recovery and data. The system partition appeared to have been formatted, the recovery partition was intact and the data partition (unallocated) had been deleted or so it seemed. Since there was no sign of any Windows installation on either partition for the reasons stated above, this was clearly going to be a rescue and reinstall operation, so I fired up EaseUS Data Recovery and directed it to scan each partition in turn.
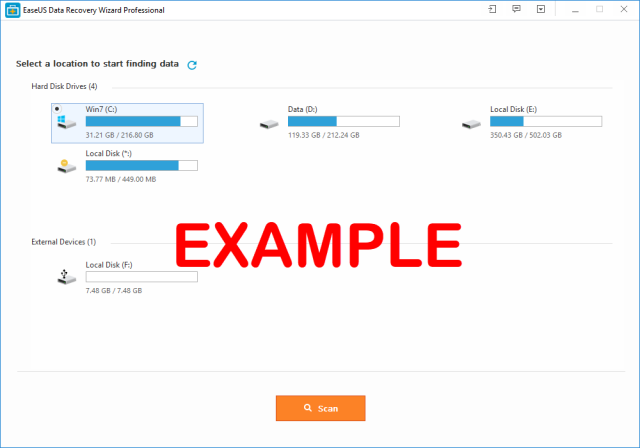
I had been given an indication of the types of files I should be looking for but since neither of us had any idea where they could be on the partitions, each was scanned in turn and on completion a couple of hours later an entire tree, similar to the image above appeared showing every file that had ever been written to the disk, at least that’s how it appeared to me. On showing the results to the now much happier client, we agreed which folders needed recovering to a different physical location for a later restore, refitted the drive to the all-in-one and installed Windows 7. When that was completed I copied the recovered folders back to the hard drive in the knowledge that EaseUS had completed its job more than admirably and my purchase had been money well spent.
The eye opener of course, is that deleting data in a Windows environment is a misnomer. It’s never really deleted as this little exercise clearly shows and if you’re determined to nuke a hard drive, do one of the following or all three:
- Smash it to pieces with a sledge hammer
- Expose it to two industrial size magnets
- Pass it through an airport style X-Ray machine
- Write zeros to it overnight or whilst you go away for a two week holiday
There are many data recovery programs available and in this short article I can only report my experience with EaseUS Data Recovery Pro, even though I have no affiliation with the company whatsoever. But I certainly consider it money well spent, as do other technicians I have spoken to. Highly recommended!
—


Hi Marc. If you up to a challenge/ test, might I suggest you d/l and install PrivaZer, use their “delete without a trace”, and see if you can restore the data. This would be a true test of giants, Mindblower!
I’ll give that a whirl, thanks.
You guys may also try Jihosoft File Recovery if the files were deleted due to accidents.
Thanks for the tip!
Hi, helpful article. We recovered some deleted photos however videos were left black and unable to play, do you know how to recover these properly? x