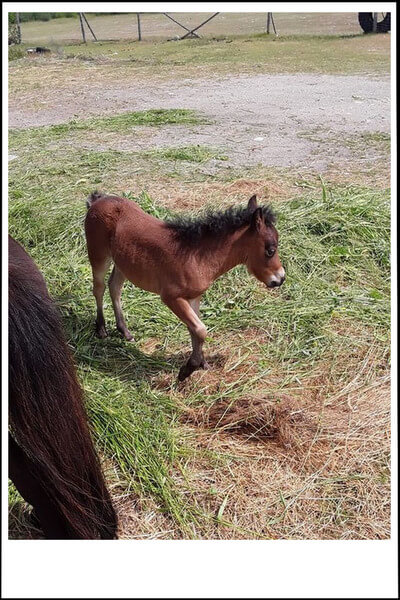
My Uncle wanted me to print up a full-page image of this pony at the farm he works at. When I’m printing up pictures, I prefer the borderless format but Canon made borderless printing a hit-or-miss process, at least on my system.
Here’s an image of what Canon claims is borderless. A small border on three sides and a super big one on the bottom edge. The black edge around the border here is just for emphasis.
I’ve had too many pictures that came out this way even when the print preview shows a perfectly borderless image. I blame that bloated mess on the software that comes with the printer called My Image Garden. They used to have a simpler app (Easy Web Print?) that gave you proper borderless every time. So I found this simple secret to printing borderless on my Canon — Don’t Use Their Software.
XnView
So I decided to experiment with XnView, my image viewer of choice.
So I open up the image and press Ctrl + P (Ctrl+P works for most Windows apps) or click on the Printer icon in the top menu.
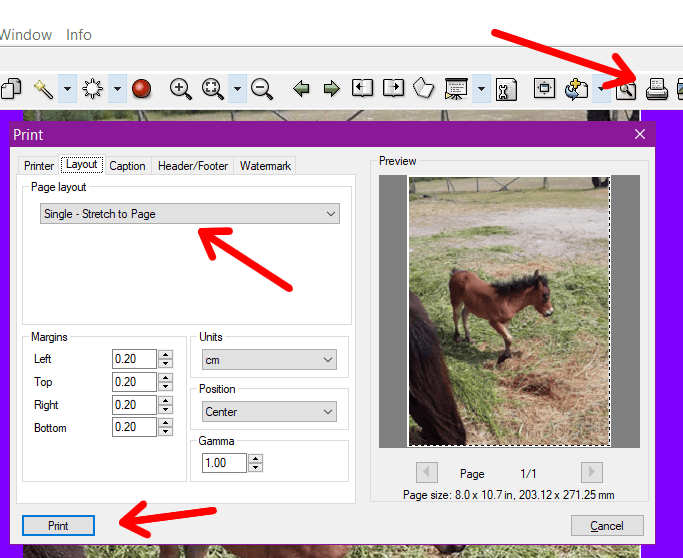
It usually opens first in the Layout tab. In the Page layout section, click on Single – Stretch to page. What you see is not what you get even though it shows a slight border around the preview image, it does print up borderless.
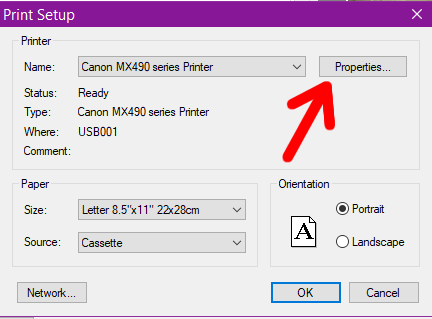
Now switch to the Printer tab and click on the Configuration button.

This takes you to the Print Setup window. Click on Properties…
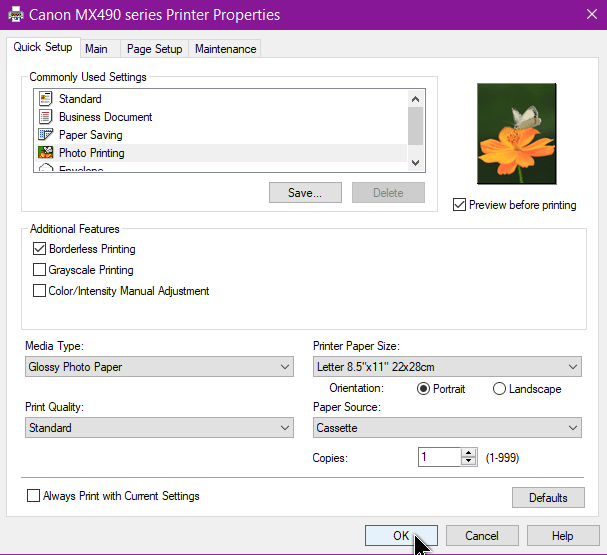
My options are, working down from the top, Photo printing, check Preview before printing, Borderless Printing (gets checked automatically), Media Type: Glossy Photo Paper, Paper Size: letter 8.5×11, Print Quality: Standard. You can bump up the quality if you want. Portrait or Landscape depends on your image, and the number of copies. I just want one copy.
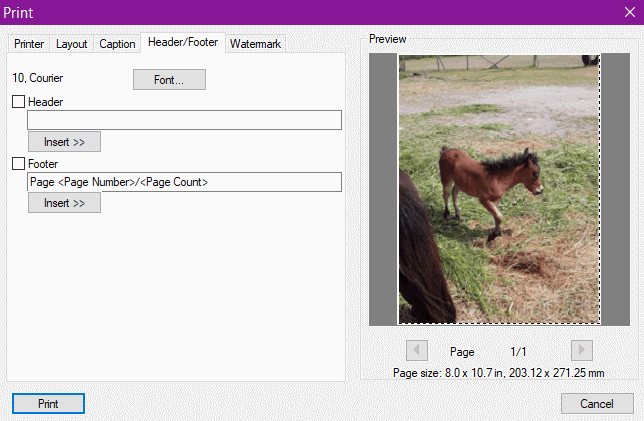
Then click on OK which sends you back to XnView printer setup. Before you press the Print button, if this is the first time printing with this program, you might want to switch to the Header/Footer tab and uncheck the Footer option that seems to be set by default. If left checked, it will print the Page number on the bottom of your image.
Click on Print. Finally some decent, borderless pics. Just for the record, I wouldn’t mind the border so much if it was very tiny and even around the picture. Also, this is using a Canon MX492.
—
Thanks for the info..