I installed Lubuntu on an old laptop. A few things I have to set up first, like my network (still working on it), and printing. I finally figured out the printing part. My printer, a Canon Pixma MX492 is connected to my Asus Windows 10 desktop. So I tried to set up network printing on my Linux laptop.
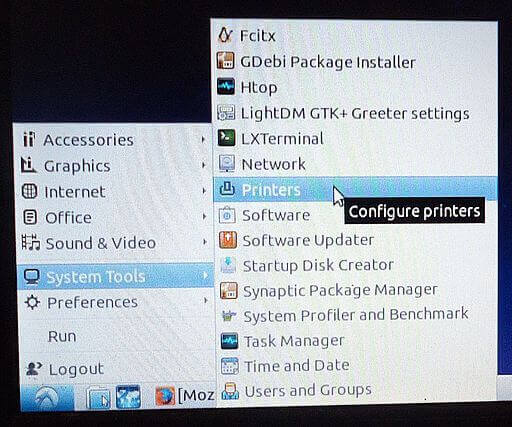
At first, it seemed simple enough. I clicked on the Start button, then System Tools then Printers.
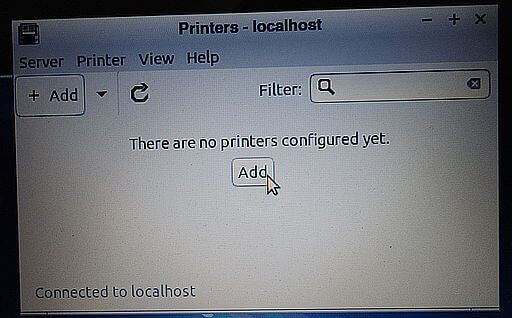
Then a box popped up with the option to add a printer. I clicked on the Add button.
I’m trying to connect through my network. I clicked on Network Printer in the New Printer box.
I noticed the name of my printer listed as Canon MX490(192.168.0.4) and clicked on it. Then I clicked on the Forward button. In the connection section, I didn’t know what to pick so I tried the IPP network printer via DNS-SD.
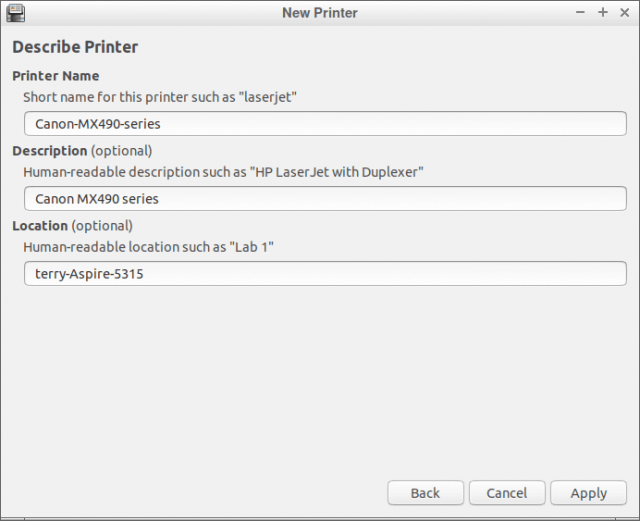
Then I got taken to a box to Describe Printer with a name, description, and location. I just left whatever was already filled in.
Everything seemed to have worked except when I tried to print a test page. The Printer State claimed to be connected and sending, but nothing printed. I went searching online and tried the solutions I could find, add this pack, add that, SUDO this and SUDO that. I went back to the Network Printer properties and tried the Driverless IPP (ipp/print) option– still the same. I found a reference online to using the Windows printer via SAMBA but this only sent the system looking for software it couldn’t find.
The Simple Solution That Solved My Problem
I connected my printer directly to the Linux laptop then disconnected it and hoped it works. Before I did that, I deleted the old setup info first and started over. Start > System Tools > Printers. This time the printer was listed in the Devices section in the New Printers box. I clicked on Forward.
It started searching for drivers and a pop-up in the top right-hand corner of my screen said Additional Printer Drivers Required. I just let it run to see what would happen.
Then came the Describe Printer box, I left everything as is.
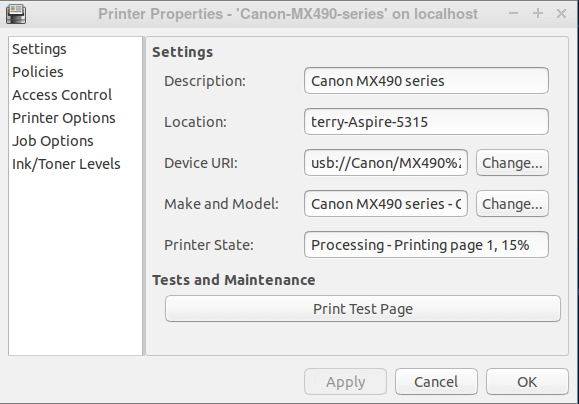
Click Apply. Then it went to the Printer Properties box. Only one thing left to do– click Print Test Page.
It worked. Now the question was, will it work networked? So I unplugged the printer and plugged it back into my Asus. I now have to set the printer properties from local USB to network. I went back to the printing properties, the Change Device URI box, clicked on the Network printer, left the connection type on the IPP network printer option and clicked Apply.
Now the final test, to print the test page… it worked! It only took two days to figure it out. Now you understand why Linux is not more popular. 🙂
—


