

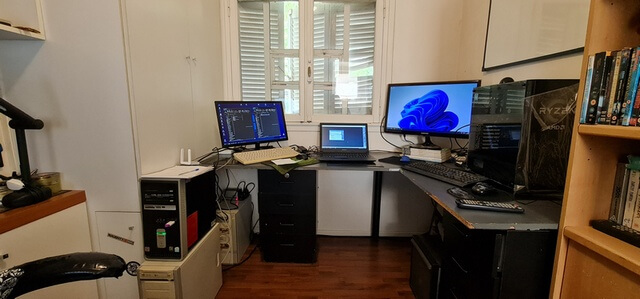
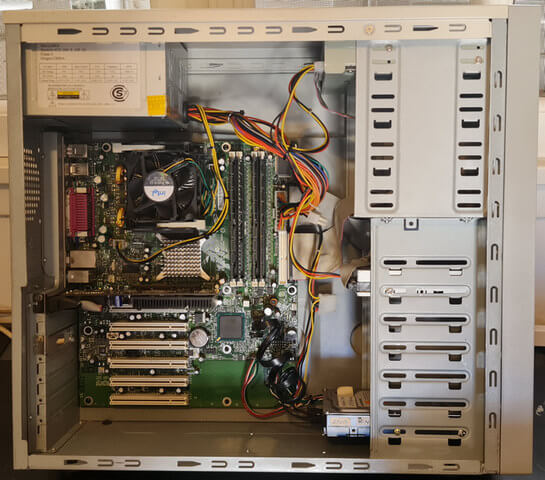
I enjoy tinkering with old computers and recently rebuilt a Pentium 4 machine on a quality Intel motherboard, D865GBF, with 2GB of memory. However, the 30GB IDE drive was beginning to fail, so I swapped it for a larger SATA drive which meant a new Windows installation was necessary. The machine is ideal for a Windows XP installation, especially for gaming because I had also fitted a Geforce 6200 AGP video card. But I prefer Windows 7 and so prepared a bootable pen drive from an ISO using Rufus. I was careful to ensure that Rufus used MBR and legacy bios (not UEFI) to prepare the pen drive and was therefore alarmed when the PC wouldn’t boot to the pen drive with a message ‘error reading from disk’.
I could have installed Windows 7 from DVD, but that’s a painfully long process of well over an hour in my experience, so I decided to prepare the hard drive for a Windows 7 installation directly from that drive. I had done it before, but couldn’t remember the exact steps, so it never hurts to do a quick refresher course, does it?
Prepare The Hard Drive
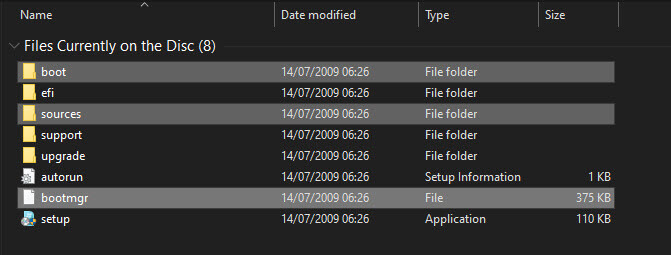
Preferably, you’ll need two PCs — one for the preparation work and the other where the operating system will be installed. I used my main PC, formatted the drive in question to NTFS, and then copied the following items from the Windows 7 installation ISO (or DVD if you have it handy) to the hard drive:
- Boot – folder
- Sources –folder
- Bootmgr –file
Handy tip! If you only want to select certain folders or files, hold down Ctrl when left-clicking on each of what you want to select.
Prepare The Hard Drive with Diskpart
Use this utility with caution and be sure that you can correctly identify the drive that you want to prepare!
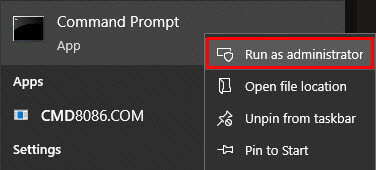
In the taskbar search box, type CMD, find Command Prompt, then right-click on it to Run As Administrator.
A black window will appear and at the command prompt, type diskpart.
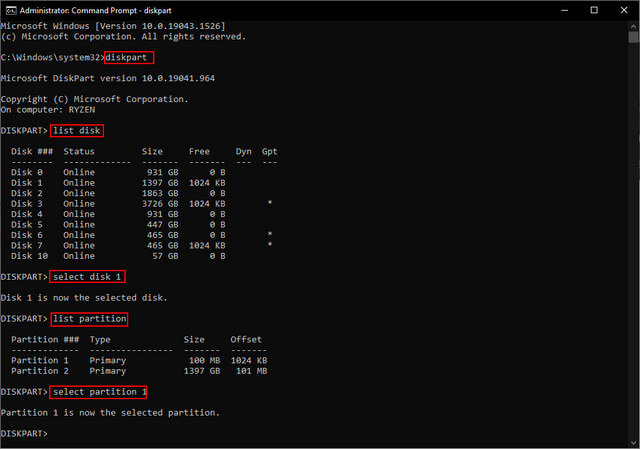
Then list disk, select disk (#number), list partition, select partition (#number), and finally when the selected partition is confirmed, type active. Once those steps are complete, type exit to leave diskpart.
Again, I can’t emphasise enough that you need to ensure that you’re preparing the correct drive, otherwise you may inadvertently be tinkering with your own Windows install drive. When installing Windows from a pen drive I usually disconnect other drives from the system, so you may want to do the same which will make identifying the disk in question much easier. This is particularly important if you have multiple drives of exactly the same size. I’ve learned this from experience when I accidentally formatted my current Windows drive many years ago.
It’s also worth noting that the drive must be using the MBR partition table (not GPT) in order for you to make it active in the last step shown above.
Returning to the command prompt window, we now have to make sure the drive boots correctly, so assuming d: is the drive in question (it may differ in your case), type the following at the command prompt:
d: (this selects d drive)
boot\bootsect.exe /nt60 d:
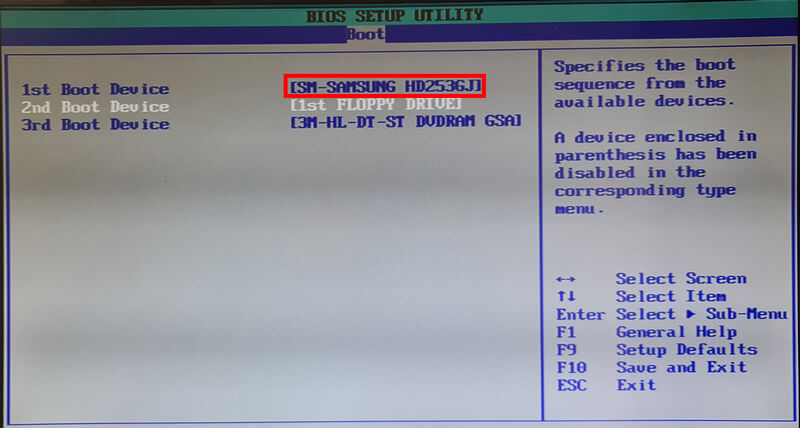
You should then see a message saying that the boot code was completed successfully, so you can exit the command prompt, shut down that PC, remove the drive and connect it to the other PC on which you will need to enter the BIOS and set the boot order to that hard drive.
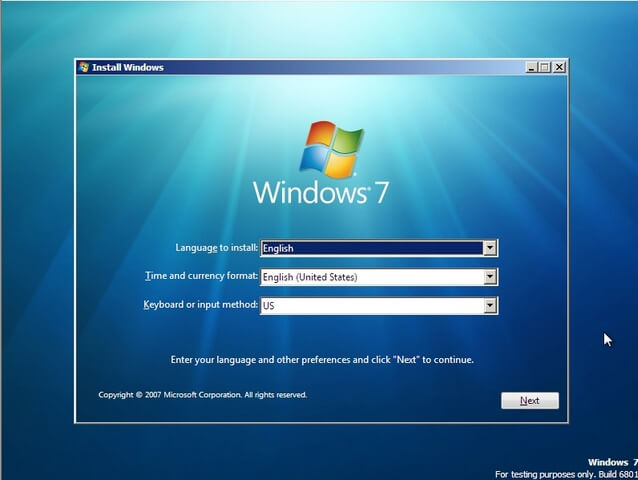
The PC should immediately boot to the installation set up on the hard drive and you can proceed with the Windows installation as normal, except it will be much faster than a USB installation and light years quicker than a DVD set up.
As far as I know, this method works for most versions of Windows and my next experiment will be installing Windows XP using the same method. I’m sure I’ve done this before, but as I said earlier, it never hurts to brush up on your knowledge before skill fade sets in.
—

