It seems like yesterday I was learning DOS commands on my IBM clone PC. It was one I had built myself from parts. I had a case from one supplier and a power supply from another. Add a motherboard, disk drives, and various plugin cards, and a PC was born. Then I would add a keyboard and a monitor to get it all going. No internet cards. Not even a mouse!
All I could do was power it on and get into the BIOS. An operating system was needed to do anything else and MS-DOS was the key. Today’s operating systems like Windows 10 still react to DOS commands in the Command Prompt window. However, most of us are comfortable using the GUI (Graphical User Interface) and would be way out of our comfort zone at the Command Prompt all the time.
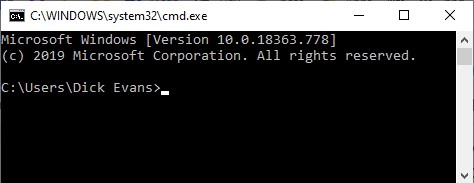
Win+R and type CMD to access the Command Prompt.
Let’s start with some simple commands.
CLS Clear Screen
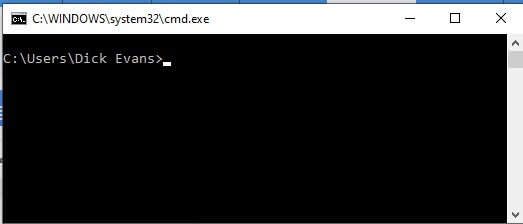
This removes everything on the screen except the current path– the location of the directory (folder) we are viewing. In this case, it is located on the C drive, in the Users directory, in the Dick Evans directory. Any commands typed will be executed in that directory.
DIR – Display Directory
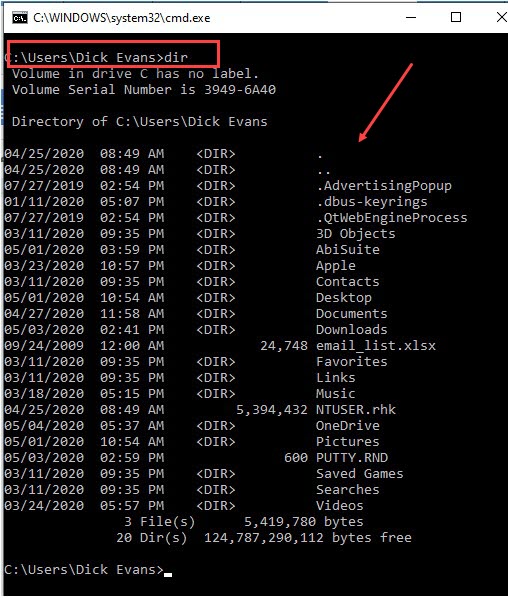
This command lists all the files and sub-directories in the current directory. It only displays sizes for files and not for the contents of a directory (DIR).
CD – Change Directory
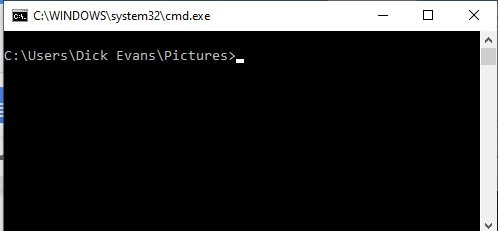
CD Pictures will change the path to the Pictures directory under the current directory. I ran CLS first to clear the previous details. The case does not matter so I could’ve typed CD pictures, CD Pictures, or CD PICTURES to be moved (or redirected) to the Pictures directory. Running DIR will display all the details in that directory.
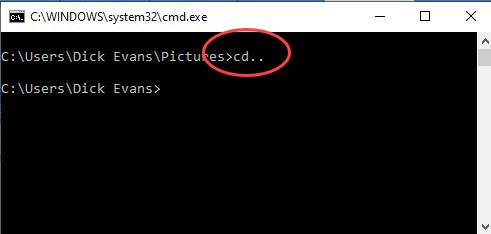
CD.. backs up one directory
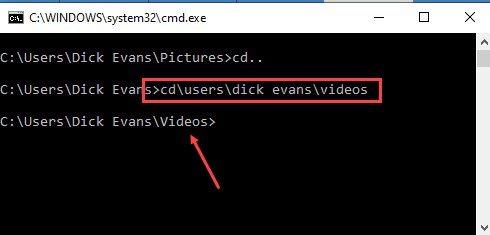
Enter the exact path and the location will change to it.
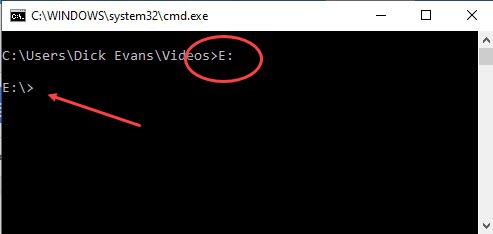
C: indicates the C drive which is the drive the operating system is on. If you have another active drive, you can simply type it followed by a colon to be redirected to it. In my case, I have a USB flash drive mounted as drive E.
EXIT – End The Command Session
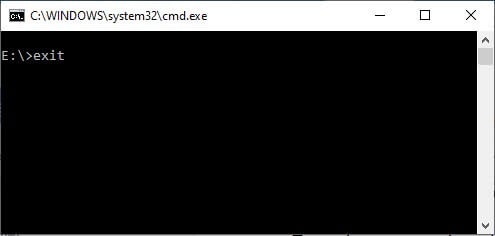
Type Exit to end the current CMD session and return to Windows.
What other commands can I use, you ask? There are hundreds including COPY, RENAME, etc. You can even combine files and execute programs right from the command line.
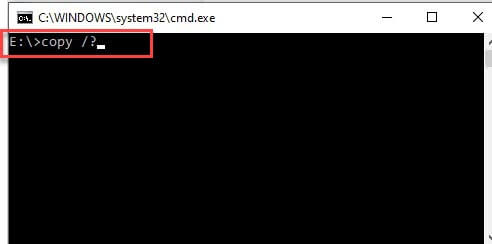
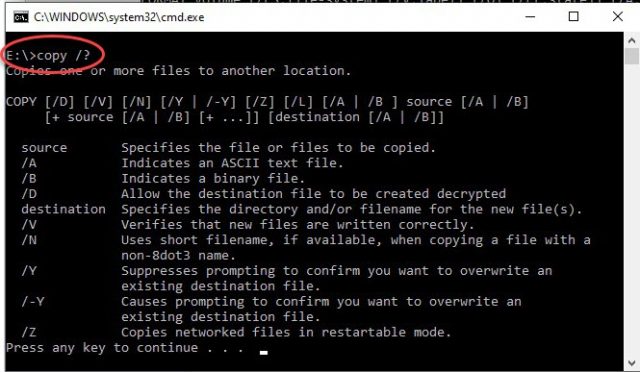
If you are unsure of the ways to use a particular command, type it followed by a space and /? for a list of help.
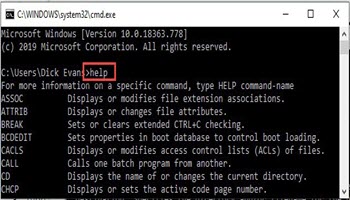
HELP – To See A List Of All Commands
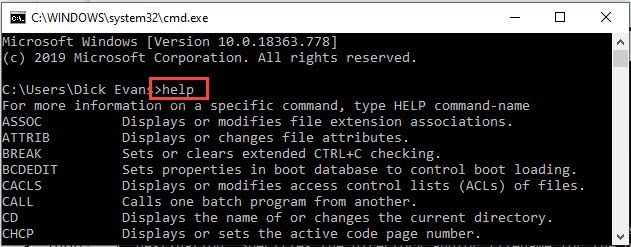
The command HELP will list all the commands available. To see details for the one you want to use, type it followed by /? as shown above with the COPY command.
START <program name>
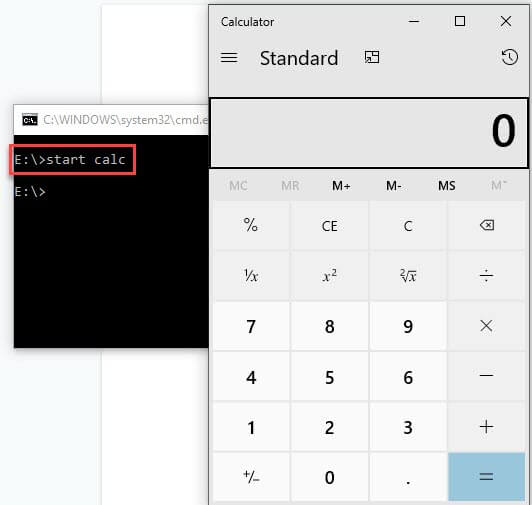
Follow the START command with the name of the program you want to run. Start Calc opens the calculator program. Start Notepad opens the Notepad program. Start Explorer opens File Explorer. Start Winword opens Microsoft Word.
Batch Files
A batch file is a series of commands saved using a program like Notepad saved with the BAT extension. Run the batch file by double-clicking on it and the series of commands will be executed and the window will be closed when the series of commands are completed.
For example, using the Notepad program, let’s create a batch file saved on the desktop called DCT.BAT with the following commands:
CLS
DIR > myfiles.txt
REN myfiles.txt dct.txt
START Notepad dct.txt
EXIT
It clears the screen, then runs a directory listing directing the output to a file called myfiles.txt instead of to the screen. REN renames the first file name to the second. Then it starts the Notepad program opening the file listing the directory.
Commands and Batch files are powerful tools allowing automation of a series of steps. The commands can be dangerous as well as there are minimal checks and balances. For instance, you could format the wrong drive, rename a file with a bad extension, etc.
This was just a glimpse into the commands and use of a batch file. I hope this was useful information even if it was a backward look at what was. The GUI is much more useful for me even though I was slow to adopt it back in the early Windows days.
This tool is one to put in the back of the box. You may never need it but it is there just in case.
Dick
—
Your article brings back some not-so-fond memories of those DOS days! Things like floppy disks, (the big ones!) and tiny hard drives.
I still use the command line for a very useful and powerful tool called diskpart. That would make a good follow-up article. It is useful for cleaning usb sticks and hard drives completely and reformatting etc. Does a much better job than the GUI reformat in Windows. I find it especially useful for cleaning Linux usb sticks for reuse in a Windows environment.
Thanks for the retro trip!!
Glad you enjoyed your flashback to your DOS days! And thanks for the suggestion of using DISKPART. I will see what I can come up with.
I’m another who got pleasant flashbacks from this article.
Today my backup program is a batchfile, with a shortcut on the desktop. It starts like this:
:: Created 1 January 2018, tested many times since.
:: USB external drive in this batch file is E: If external drive is not E: then must edit batch file accordingly.
:: Script follows.
cls
@echo Please prepare for a backup.
@echo ### Close open documents.
@echo ### Ensure files/folders in DOWNLOADS have been moved to appropriate folder in Documents, Music, etc. Items in Downloads are not backed up.
@echo ### Ensure external USB drive is plugged in and ready.
@echo ### Backed up files will be saved to external drive in folder named “Backup.”
pause
:: If running bat file in Scheduled Tasks, delete all “pause” lines in this bat file.
@echo off
:: variables
set userprofile=C:\Users\Steve
:: If this script will be used by anyone else, must edit “set userprofile=C:\Users\Steve” to “set userprofile=C:\Users\Bill or John or Mary, etc.”
set drive=E:\Backup
set backupcmd=xcopy /s /c /d /e /h /i /r /y
echo ### Backing up Documents…
%backupcmd% “%USERPROFILE%\Documents” “%drive%\Documents”
But you get the idea and can probably complete the rest of the bat file.
Wow. That is great batch file. Thanks for sharing.
It is a great batch file, but I can’t take credit for it. Found it at Google, then edited it (slightly).
It’s still available, in its entirety, out there.