FastStone Image Viewer has long been my software of choice for managing and working with images and photos. A portable version is available and, as usual, that is my preference: Download FastStone Image Viewer
FastStone Image Viewer includes so many options and features but what we are going to concentrate on today is its editing capabilities. I’m sure you will have all taken photos at times that come out blurry, or with faces in shadow, or are either too bright or too dark. The saying that you can’t make a silk purse out of a sow’s ear is so true but, when it comes to improving poor photos, FastStone Image Viewer comes real close.
As part of my extracurricular duties I maintain a website for my local lawn bowls club and rely on photos from members whose photography skills are, shall we say, somewhat less than professional. Most of the photos they send me to publish on the site are pretty bad but, fortunately, I can fix them quite easily and quickly using the fantastic FastStone Image Viewer.
How To Enhance/Fix Photos
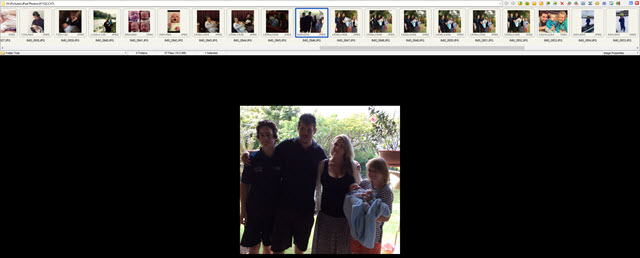
When you open an image in FastStone, all of the features and tools menus are hidden and require a mouse over to reveal same. The top menu includes a navigable thumbnail strip of all images in the folder with a tools menu above:
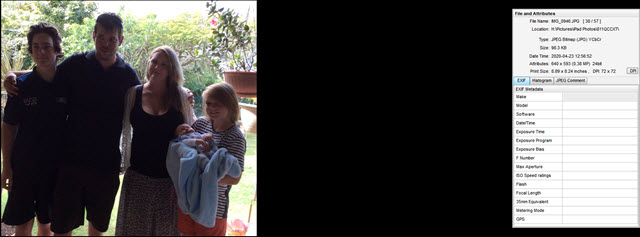
The right side menu displays information about the file and its attributes, including EXIF data:
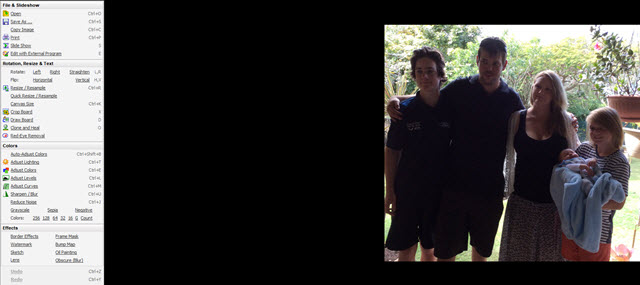
The left side menu includes all the tools for editing/enhancing images:
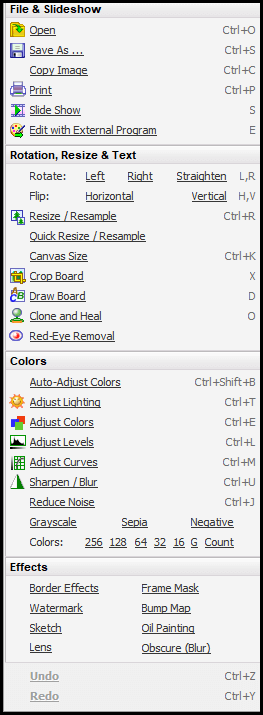
The bottom menu pretty much replicates the top menu. However, it’s the left side menu we’ll be working with in this guide so here’s a closer look:
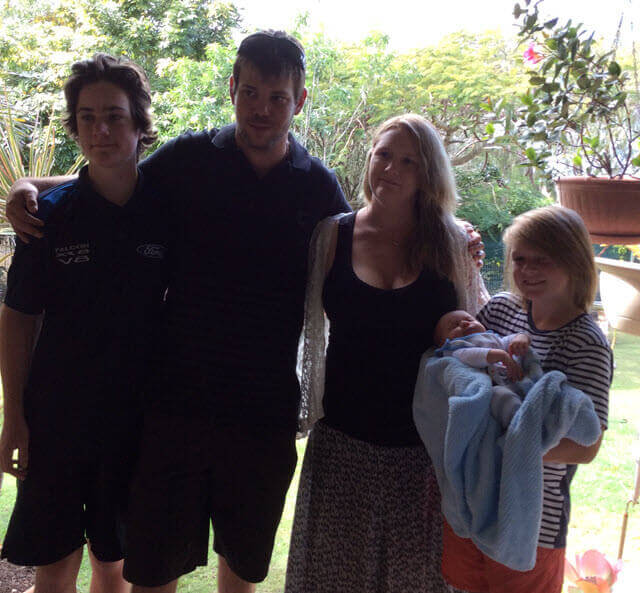
The photo I’m working with is obviously too dark with facial features getting lost in the shadows so we’ll use some of FastStone’s editing tools to adjust the image:
Firstly we’re going to adjust the lighting– click Adjust Lighting in the left-hand menu and a new menu will open at the bottom of the screen which includes sliders to adjust various attributes:
I’m going to move the Shadows slider to the right to decrease the effects of shadowing and then I’ll increase the level of contrast slightly. NOTE the button that says Hold Down to See Original Image-– by clicking this button you can quickly and easily compare the image with your new settings and the original image. When satisfied with the result click OK and the new settings will be applied.
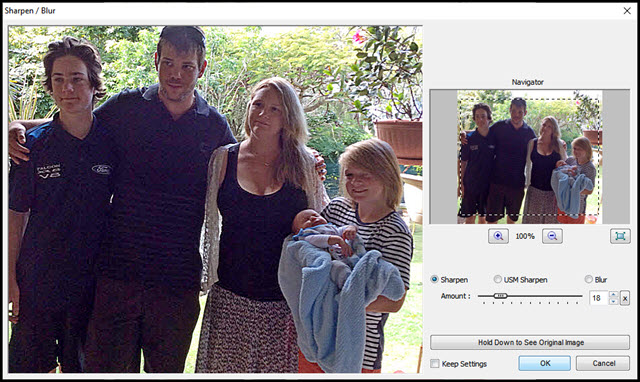
Next, I’m going to slightly sharpen the image. In the left-hand menu, click Sharpen/Blur. This time a preview window will open with a slider to adjust sharpness. Use the Hold Down button to quickly compare before and after. When satisfied, click OK.
When you are happy with the enhancements, click Save As in the left-hand menu, and when you click the Save button in the window that opens, you’ll be asked if you want to replace the old image with the new. Click Yes. All done.
Time taken… approximately three minutes, and I think you’ll agree, the results are pretty good.
NOTES:
- You will notice that each editing menu includes an option to Keep Settings. This is useful if you want to apply the same changes to multiple images but, in most cases, each image will require different settings so I don’t usually enable this option
- In this guide I have only utilized two of FastStone’s many image editing options just to give you an idea of what can be achieved. That said, these are probably the two options I would use most often for enhancing images
- Due to file size restrictions, I am unable to display the photos in their original high definition so please bear that in mind
So, no need to discard those photos that don’t quite turn out right, just use FastStone Image Viewer to fix ’em.
FURTHER READING:
- How To: Resize photos using FastStone Image Viewer
- How To: Resize photos using FastStone Image Viewer – Part 2
- FastStone Image Viewer – a brief tour (Video)
Cheers… Jim
—



Thank you Jim, Excellent photo editor. I have been trying out all sorts lately, Photoshop. paint shop pro, Gimp but this one fits my needs exactly And its free
You’re most welcome Paul.
FastStone, along with Snagit, is one of the most useful tools I have and thanks to Jim for introducing me to it so many moons ago!