I always want to have as many life vests as I can with my computers. You never know what is going to happen to your computer in the future… or do you? Well I don’t, so this is a great little “How to” to help keep your computer working. The first thing I always do when I get a new computer is create a repair disc, or as Windows 8.1 calls it, a recovery drive. Before you do this, make sure you have a large USB drive. On my laptop I needed to get a 16 GB USB for this project. In this “how to” you will understand why I suggest this. Let’s get this started and show you how you can create your own USB recovery drive.
- First click on the windows icon in the bottom left hand corner of your computer screen.

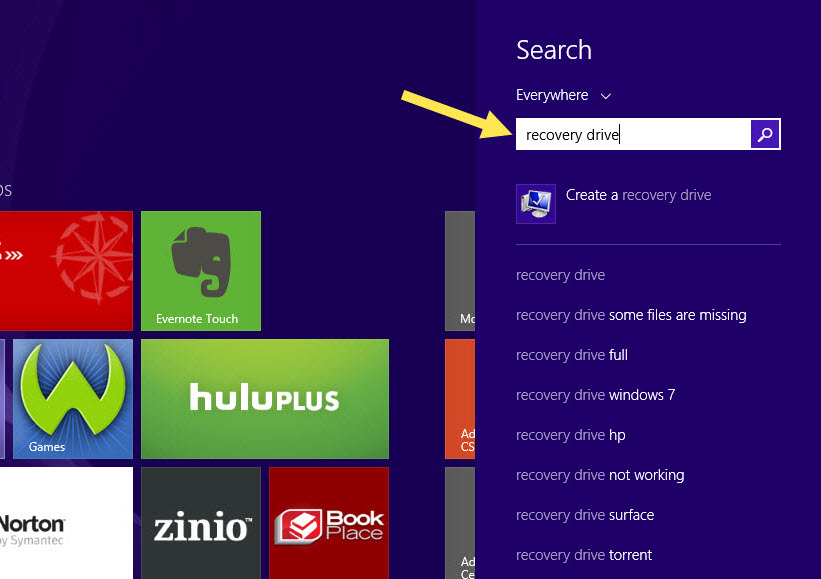
- Next go to the far right of the screen. This is where you will find a search icoon at the top right of the screen. Click it.
- You must now type in the search box “recovery drive”. Now you should see right below the search box “Create a recovery drive”, click it.
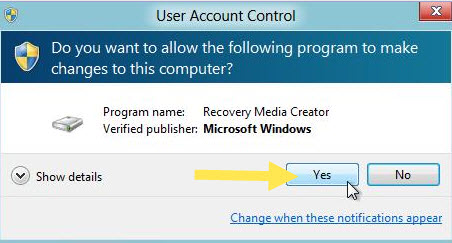
- As always, User Account Control pops up. Click “Yes” to verify that you want to do this action.
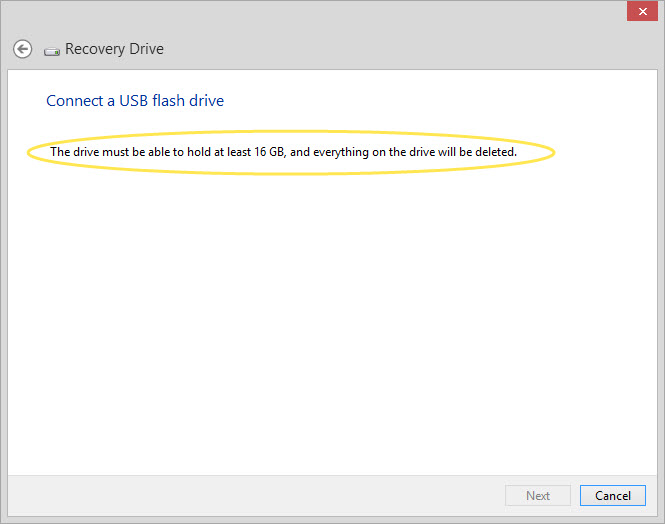
- At this point make sure to have the USB you are going to use plugged in. Remember you will need a good size one. I had to buy a 16 GB to create mine.
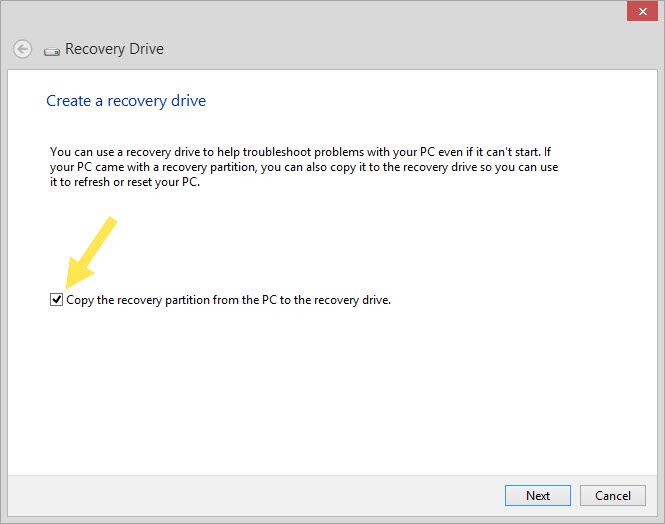
- Now the “Create a recovery drive” box will appear. Here you want to make sure the “Copy the recovery partition from the PC to the recovery drive” box is checked.
- The checkbox is greyed out when your PC doesn’t have a recovery partition. The recovery drive will include only the recovery tools and a bootable image, but not a recovery image to use for refreshing or resetting your PC.
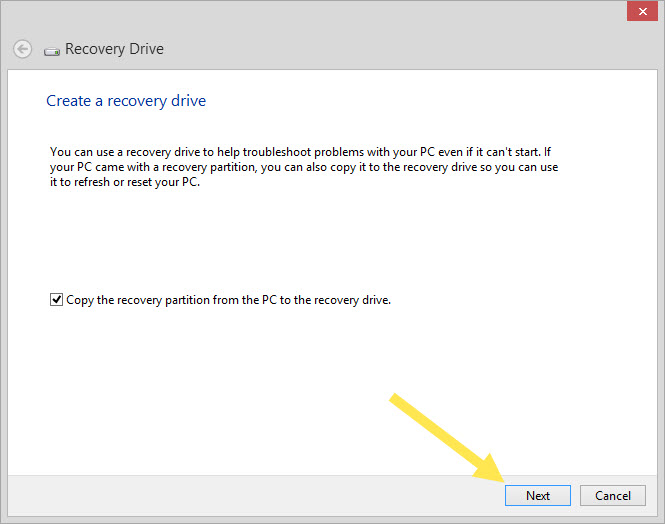
- Once you have checked this box click “Next”
- This next screen will tell how much space you well need on your USB.
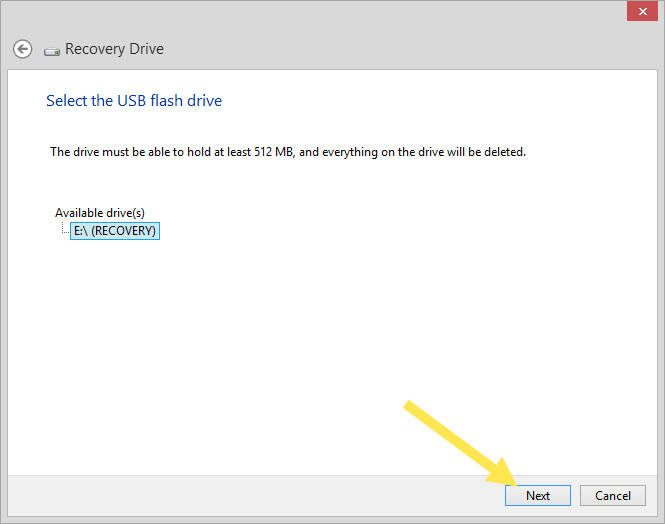
- Now all you have to do is select the USB and click “NEXT”
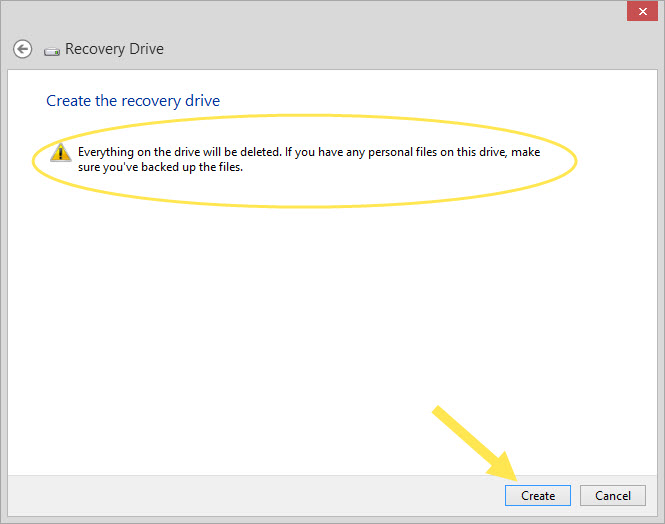
- Your Windows program will now warn you that it will delete everything on the USB.
- If that is OK click “Create”
- The recovery image and necessary recovery tools will be copied to your USB flash drive, which will take a while, depending on your PC and the size of the recovery image.
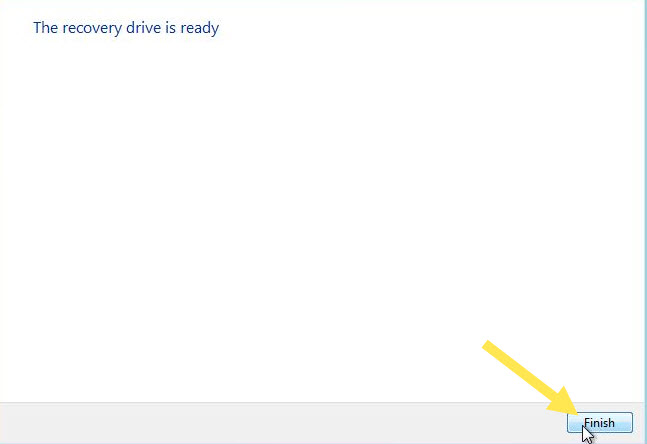
- The last screen will pop up and say “The recovery drive is ready”, now just click finished.
Once this is done you have created yourself a USB recovery drive for you Windows 8.1. Trust me this will be a very useful tool to keep on hand.


Jason, your article is similar to the Microsoft article on the subject. One problem with both articles and many others is that they assume the use of Search will bring up the same files on all computers. Why not additionally disclose the name and standard location of the file you wish to use?
HI Dennis,
I appreciate you bringing this to my attention. Yes, you are right that sometimes the search will not bring up the location name I mentioned. This article was written while I was in the process of Creating one for myself so It showed the steps I took to get to the desired result. I would be happy to share another way to find this file.
First: On the desktop look to the bottom left of screen. Here you should see a file folder called “File Explorer”. Click it (Hovering over the icon should say the name)
Second: Look to the top of the screen. Here you will see “Open Control Panel”. Click it
Third: Now under “System and Security” Click the Link “Save backup copies of your files with File History”.
Fourth: Once here look to the bottom Left and click on “Recovery”
In the next screen you will see the option to Create A recovery drive. From this point the article will help finish things up. This is the long way to get there but if your search can not find the file then this is the route you can take.
Good Luck,
Jason S.