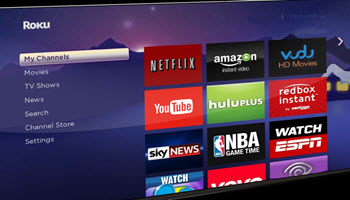
Last week I covered how to manage Roku TV power-saving settings. If you missed it, here is the link:
How To Manage Roku TV Power Saving Settings
This week I wanted to stay on the Roku subject. I have been messing around on my device and found another feature that I think you should learn. As with any device, they need to have the software updated every so often. This is no different for your Roku TV. Since I know how to do it, I thought I could share my knowledge with all of you. Before we start the class make sure to check out my more recent articles:
- How To Adjust Playback Settings – YouTube
- How To Use Google Translate
- Top 10 Tech Gifts
- How To View Purchase History On Amazon Wish List
- How To Change Google Profile Name
Guess it is time time begin our new lesson.
How To Check For Software Updates Roku
This will be shown on my TCL Roku TV.
Step 1: Turn on your Roku device and look at the side menu.
Step 2: On the left side menu look for Settings and select it. Push OK on your remote.
Step 3: On the next menu look for System. Select it.
Step 4: On the System menu find the Software update option.
Step 5: Now we are on the Software update screen. Here you can see some information about the updates:
- Last checked
- Last updated
This information is on the left side of the screen at the bottom under the Download arrow icon. Look to the right side of your screen.
Here is where they tell you what software version you are running.
Your TV checks for software and channel updates automatically once per day. You can also manually check for updates.
Since we are here to check manually, select the Check now button on the right. Push OK on the remote.
Step 6: Here you will see it checking for new software.
Once it is done, you will see a window like this.
Software update – All software is up to date.
Now all you need to do is select OK and push OK on the remote. DONE!
You now know how to manually check for software updates on your Roku TV. Time to share your new knowledge with everyone.
—

