As you may know, I have been writing a series of articles on eBay. Today is no different, I want to make sure all of you are experts in using your eBay account. If you have not seen my other articles, then make sure to check them out here:
- How To Create Custom Watchlist On eBay
- How To Update Password On eBay
- How To Update eBay Shipping Address
- How To Add Payment Method To eBay
- How To Change Automatic Payment Method On eBay
Now that we are all caught up, it is time to share more knowledge on this riveting subject. Last week I needed to change my phone number. After doing this, I remembered that I now needed to update all my accounts with the new number. eBay is one of those accounts that needed the update. This got me thinking that I could do an article on how we could update the contact info on eBay. So it is time that I show you how this works.
How To Change Contact Information On eBay
This will be shown on the eBay website and not on mobile.
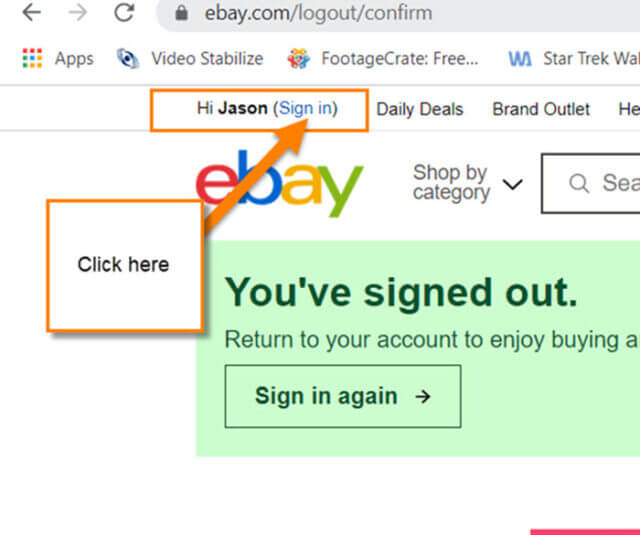
Step 1: Head over to eBay.com and sign in to your account. To do this, look to the top left and click on Sign in and follow the prompts.
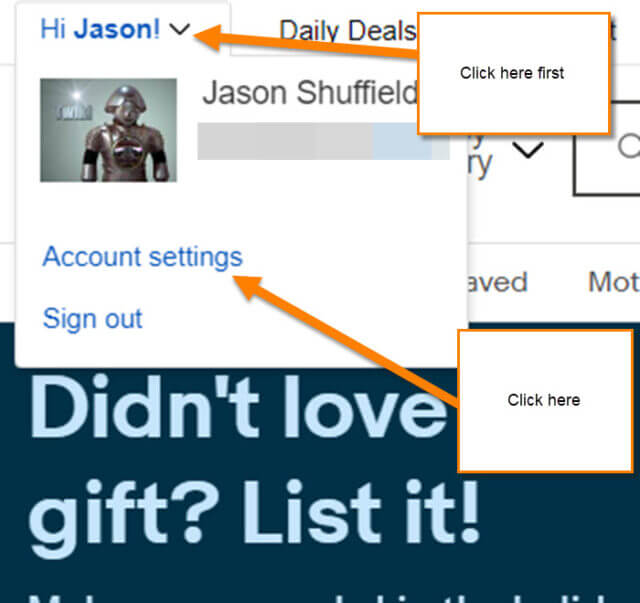
Step 2: Once logged in, look back to the top left. Hover your mouse over the down arrow to the right of Hi (name). This will bring up a menu and you will need to find Account settings. Click it.
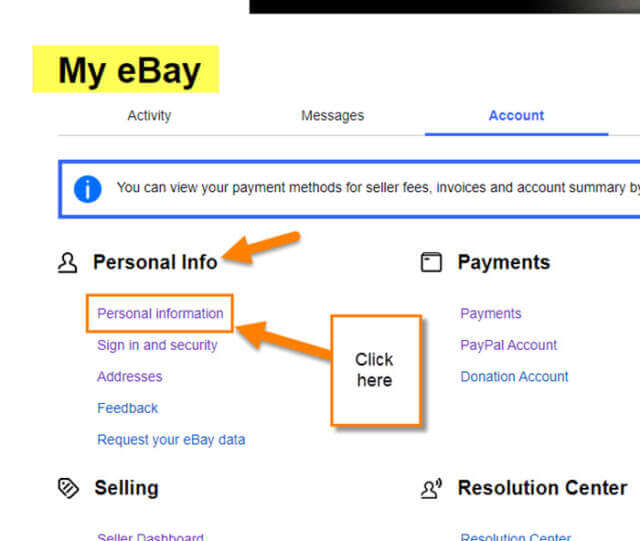
Step 3: On this screen, look in the Personal Info section on the left after clicking Account, under the My eBay title. Click on the Personal information link.
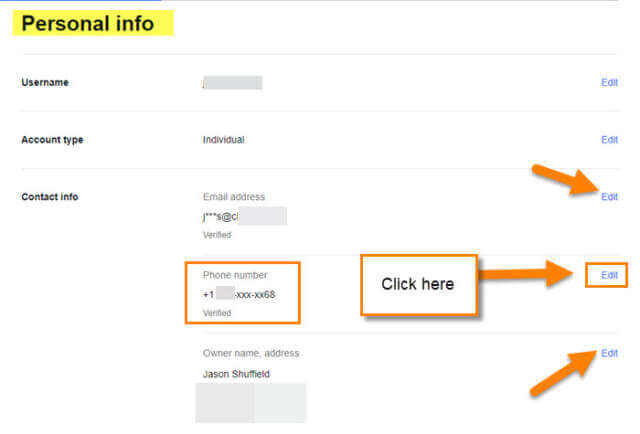
Step 4: You might be asked to sign in again. Do this if it prompts you. You should now see the Personal Info title in the middle of the screen. Under that, you will find the Contact info section. Here is where we can edit all the contact info. They give you three areas to edit:
- Email Address
- Phone number
- Owner Name, address
We will use the Phone Number as our example for this article. Click Edit to the right of Phone number.
Step 5: After clicking edit you will see this screen. You have some options for the phone:
- Phone Type
- Country or region
- Mobile
Let us start with the first option: Phone Type
Step 6: Click on the down arrow next to the Phone Type. This will give you two options:
- Mobile
- Landline
Most of us will choose Mobile since that is what most of us use. For this article, we will click on Mobile. Once that is chosen, look to the right under Mobile and key the phone number in.
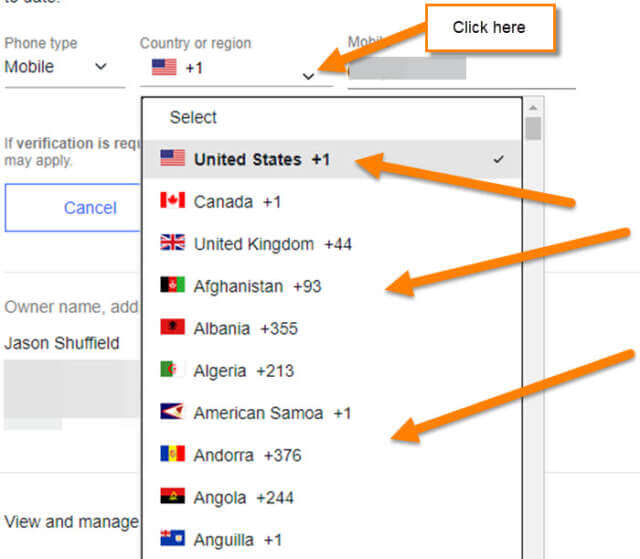
Step 7: Next we want to look to the Country or region. Here you will want to click on the down-arrow to the right of the flag. This will bring up all the countries and regions you can choose from. Choose wisely.
Step 8: If all of that looks correct it is time to click the blue save button on the bottom. You might get a verification code sent to your cell number. Once you verify the phone number, you are done.
You should now see this screen that will say Updated successfully. All done!
Make sure to update the other two options if needed by clicking the edit option to the right of them. Time to share this information and get that account updated.
—

