The term webmaster, to me at least, is so very 90s, with connotations of nerdy, beardy types sitting in front of multiple monitors, surrounded by dirty keyboards, cold coffee in Star Trek mugs and half-eaten pizzas in piled-up boxes on a chugging, beige PC. The term has probably gone past its sell-by date now, along with silver surfer and multi-media, but in reality, it means he or she is a master of web design and, generally speaking, they like to paint their skill as a black art, known only to a very few.
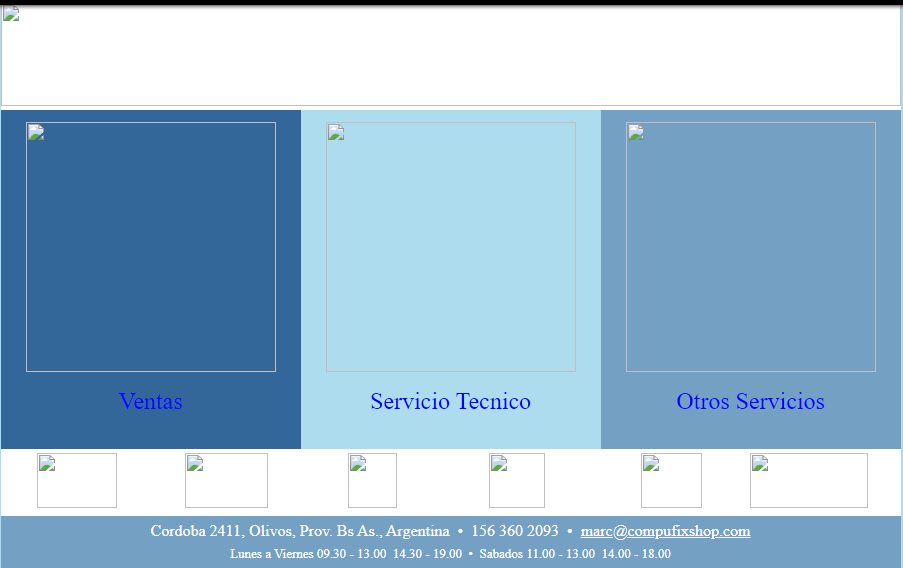
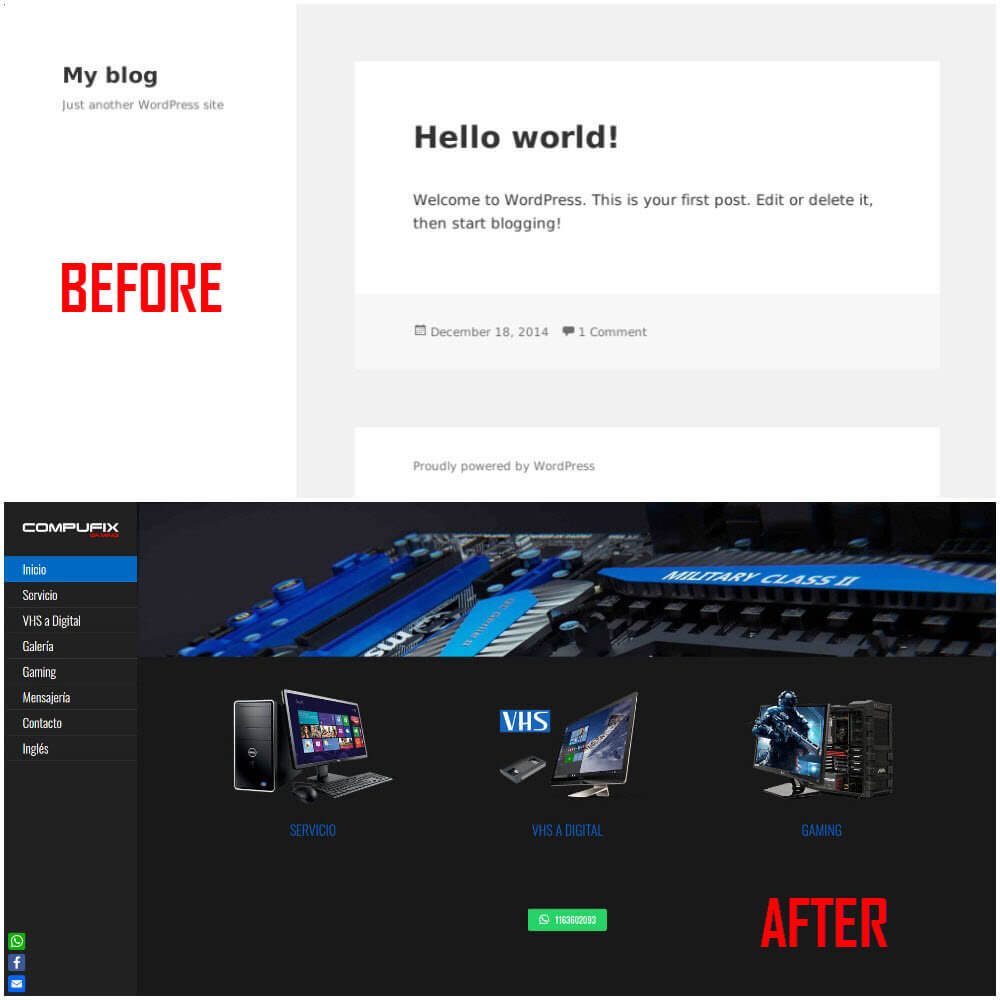
However, since the advent of build-your-own websites, drag-and-drop, and not least, WordPress, everyone is capable of becoming a webmeister and all it takes is owning a domain, buying a hosting plan and installing the software. I first started playing with web design back in the early 2000s using Microsoft FrontPage for a family website, then in 2009 asked a self-styled webmaster friend to build one for my new Compufix venture. I later hired a local company to take it over until they went belly up, then finally took over the reins myself five or six years ago. I’ve learned a lot about web design since then and from my point of view it’s the kind of skill that you need to stick at regularly, not least because of skill-fade, but also advances in the tech itself. As an aside, using Internet Archive Wayback Machine, this is how my Compufix website looked back in 2009.
Grab A Domain Name And A Hosting Plan
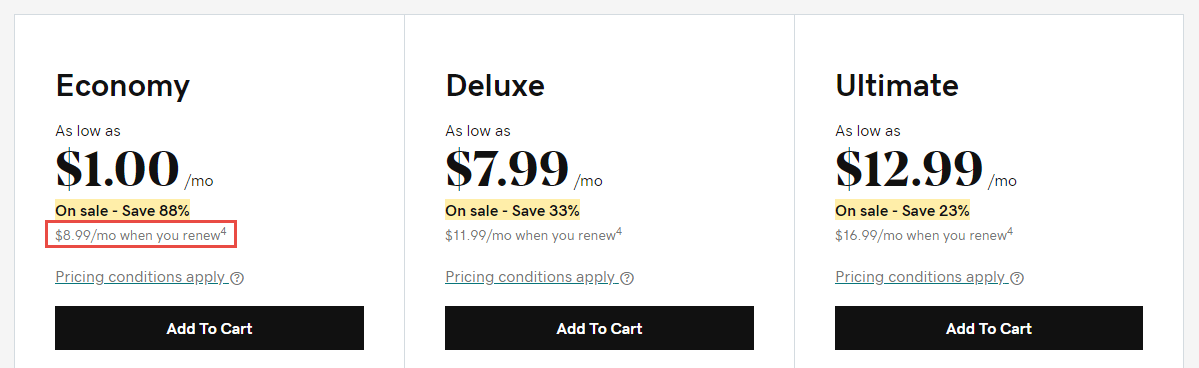
Today, you can sign up for hosting with any number of companies and will often get a domain thrown in free of charge. It’s very competitive out there, but be sure to read the terms carefully. The first year may be $2 a month, but annual renewal could turn out to be $5 or even $10.
Once you have the package, you’ll probably find that setting everything up is very intuitive, usually with guides and step by step instructions. WordPress isn’t the only website creation software available, but for simplicity, support, themes, plugins and ease of use, that’s what I’m using. Most hosting companies offer a one-click WordPress install such as GoDaddy’s Installatron and it’s also worth keeping an eye out for free SSL (HTTPS) as well.
Install WordPress With One Click
I won’t go through a step by step on how to log in and install WordPress, but suffice to say that once installed you’ll be greeted with the following page:

This is your blank canvas which you can then start building on through the WordPress dashboard, also known as the back end:
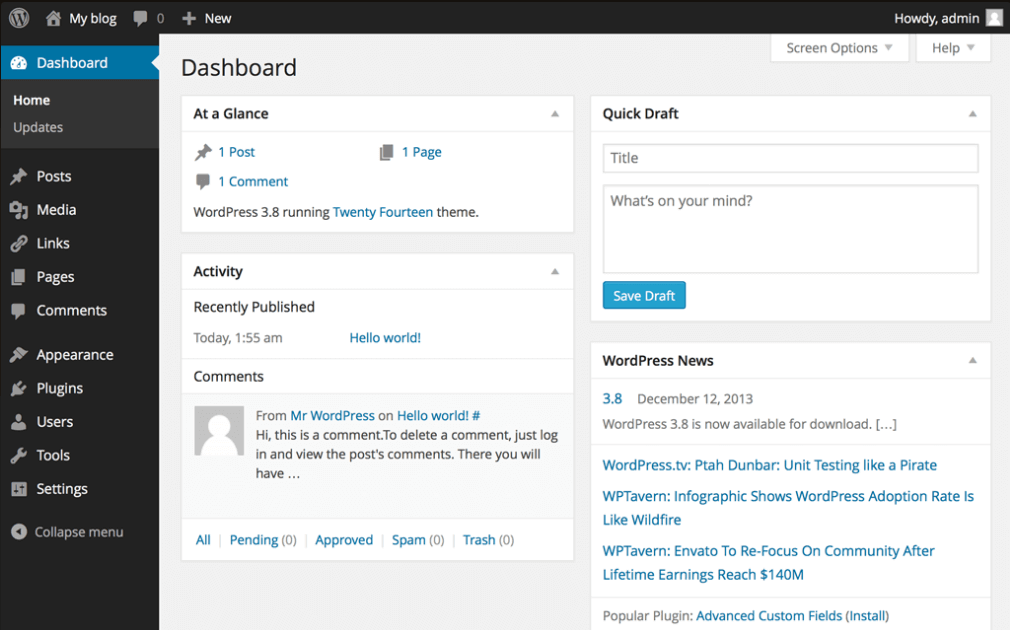
Again, the WordPress dashboard is intuitive to use and it’s where you can customise your site with themes, plugins, posts and new pages. It’s very rewarding to spend a few hours choosing a theme, adding images and generally personalising your new website and turning Hello world! into your own creation.
Get Creative With WordPress
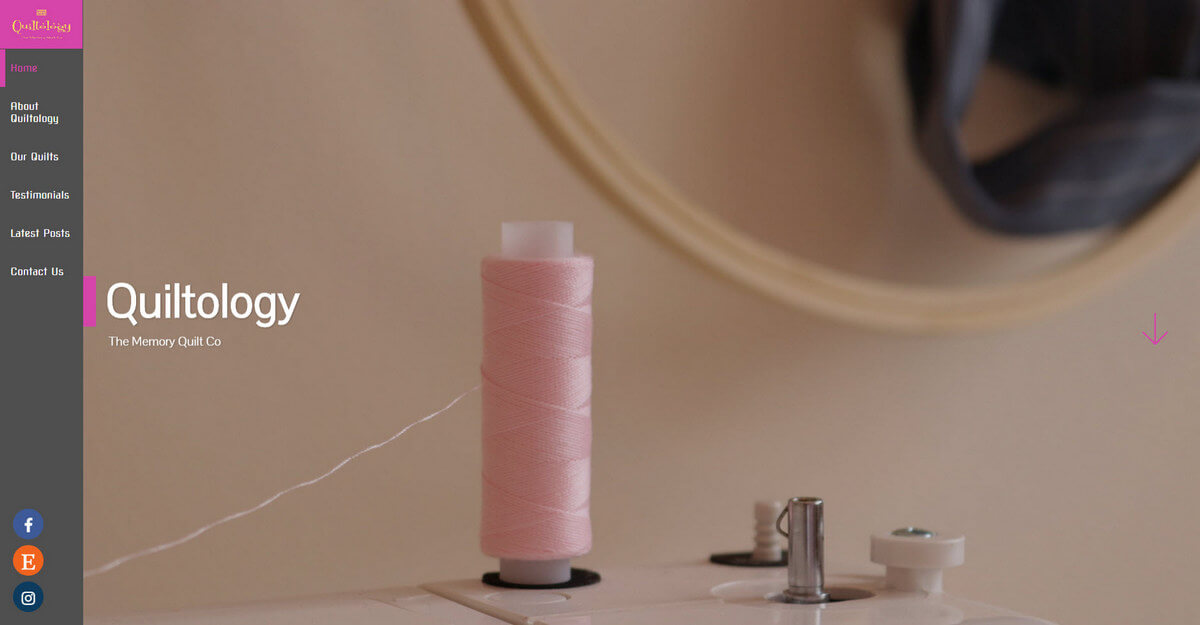
One of the first things I do with a new website is to choose a theme of which there are tens of thousands available for WordPress. Many are free and many are freemium which means you can use a limited version free of charge, but need to pay to unlock premium features. Most themes give you a pre-built layout of columns and rows and you can choose a theme that has vertical or horizontal menus navigation system, although horizontal seems to be the most popular layout today. Once you’ve chosen a theme, you may wish to consider a drag-and-drop page builder such as Beaver Builder or Elementor, although there are a few others, including WordPress’s own Gutenberg block editor which isn’t very intuitive at all. I’ve been using the free versions of Beaver and Elementor, both of which give you true visual editing which means you see the changes in real-time. It’s perfectly possible to build a website using the free version of any page builder, just as I have done with the sites I’ve designed. In fact, just recently I put together a website for my daughter’s new quilt business, Quiltology, using Beaver Builder Lite (free) with a vertical menu navigation theme.
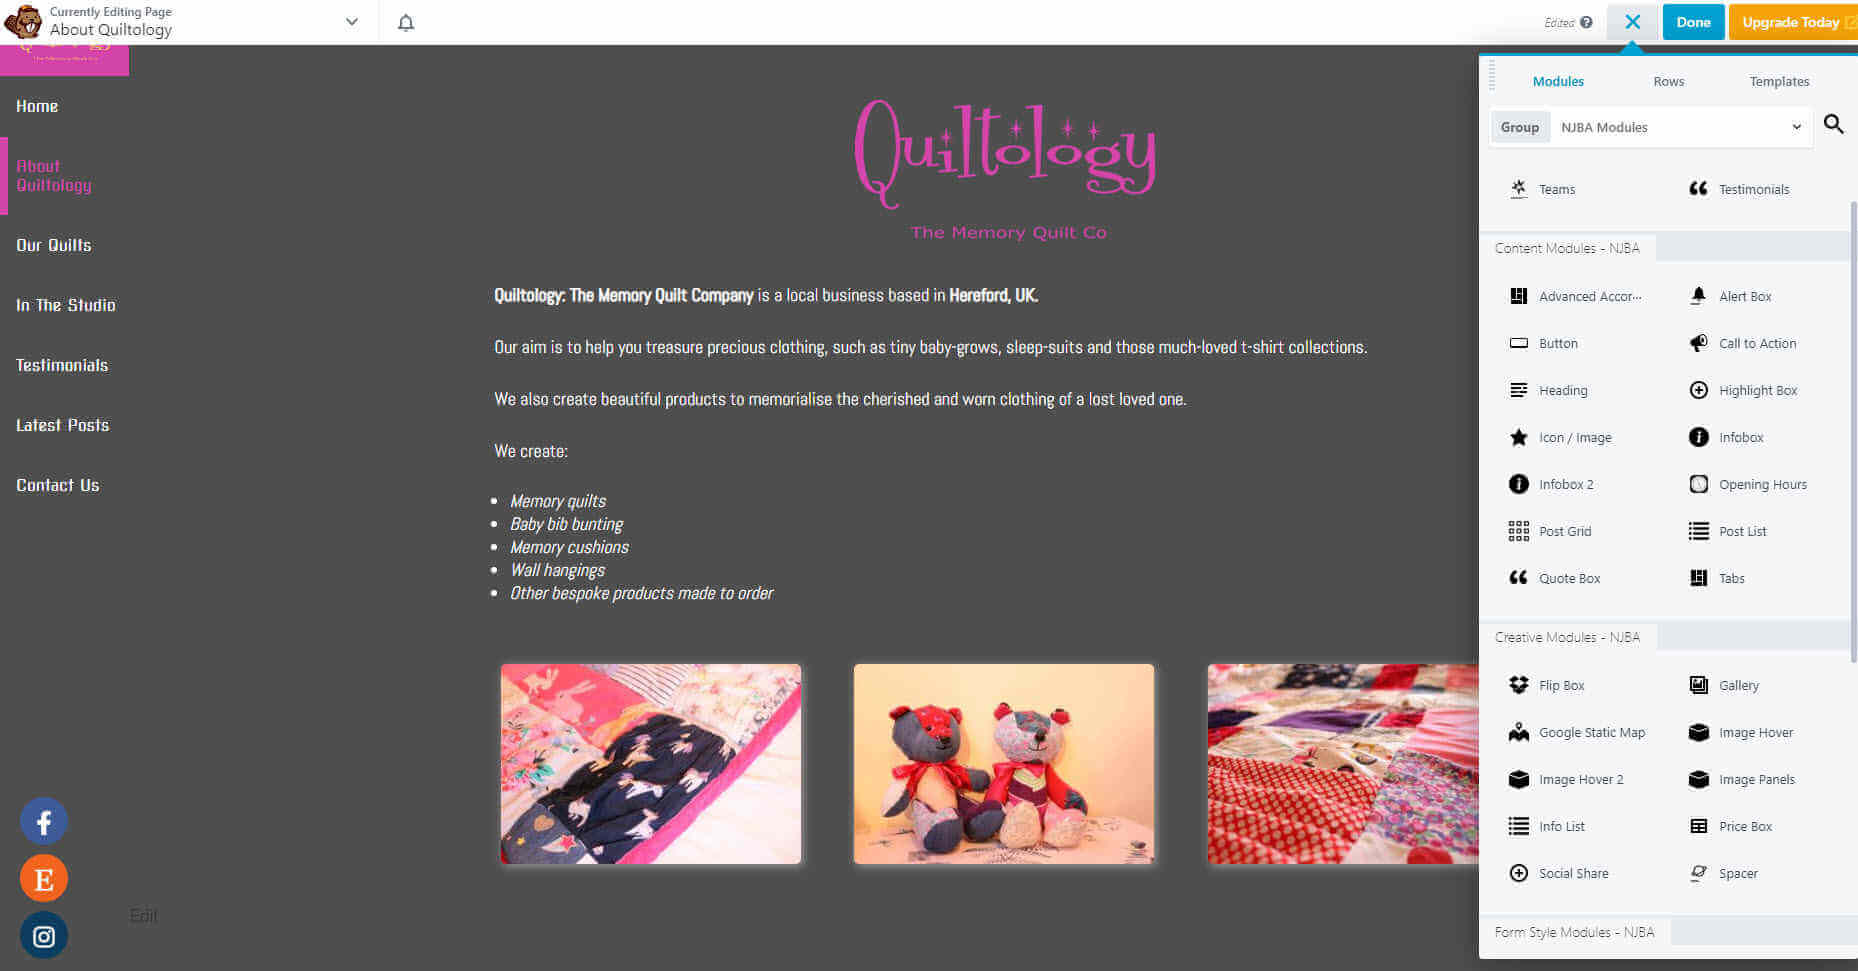
Page builders are literally drag-and-drop site designers and once a module is dropped onto the page, it can be fine-tuned in any number of ways. If it’s a photo, for example, you can have it react to a mouse hover, or you may wish to create a Lightbox photo gallery that auto-loads. Frankly, the possibilities are endless and only limited by your imagination.
Here’s an excellent article from WP Beginner on choosing a page builder.
Easy On The Plugins

Plugins are additional software that add certain functions such as social media share icons or scroll-up buttons to your site and believe me, there’s a plugin for practically everything on WordPress. For example, the latest versions of WordPress use the clumsy Gutenberg Block Editor which I mentioned earlier. However, I, like many others, prefer the classic editor, so a clever software developer came up with a plugin that lets you revert to the classic editor at the click of a mouse. The beauty of plugins is that they can perform an important function without the need for coding skills, however, it’s advisable not to overload your site with too many plugins, tempting as that may be.
Adding Additional CSS Code
CSS or Cascading Style Sheets is a style sheet language used for describing the presentation of a document written in a markup language like HTML. This is where page design gets really interesting because WordPress allows you to add lines of extra code to change the appearance of a page, which may not be possible within the options available in the theme that you’re using. For example, I needed to hide some social icons and also to change the colour of the navigation menu on the Quiltology website which I couldn’t do through the theme options, so I added the following code as per this screenshot:
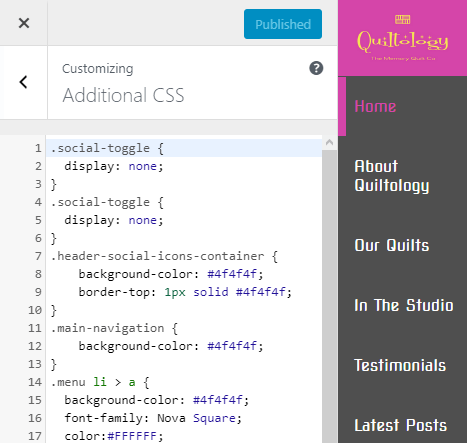
The changes made are immediate and greatly enhance personalising your website. In fact, most of the CSS code is discovered by asking at the theme developer support site. However, using site inspector by right-clicking on the relevant area of your website and selecting inspect element, you can quickly understand what code should be added or changed in additional CSS.

Additional CSS code should be used with caution though, and although you can easily remove what you’ve added, there’s a slim chance that it could affect the site as a whole. Having said that, I for one have become pretty hooked on additional CSS and learning how to use it, but perhaps that’s a subject for a different article.
I hope this has been a handy introduction on the road to your becoming a webmaster. It’s not that difficult, the learning curve isn’t too steep thanks to the vast improvements in site-building and it’s also incredibly rewarding. Later, I’ll probably add to this article with details on how to move a domain and other aspects of managing websites.
—
Marc, did you ever run a bbs and if so, is this easier or harder (given the added tools at hand), Mindblower!
No, I never ran a BBS, Mindblower, so I wouldn’t know if it’s easier.
However, I know that setting up a new website is much easier than when I first started playing around with FrontPage in 2000.