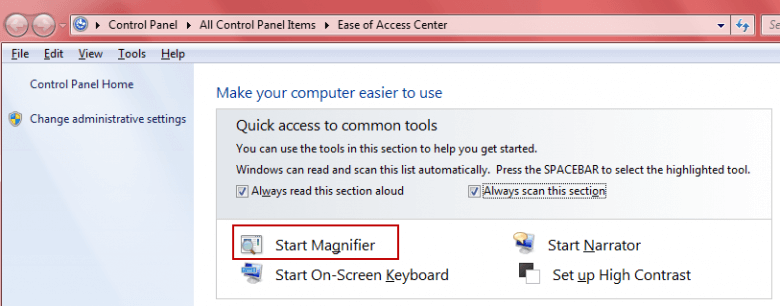
Are you aware there is a tool included in Windows which allows you to magnify all or part of whatever is displayed on the screen? Even though Microsoft has included a screen magnifier with every OS since Windows 98, it’s surprisingly not all that well known. The program was greatly improved for Vista and even more so in Windows 7. If you haven’t tried the native magnifier to date, here is a quick guide for Windows 7 users:
Windows Magnifier can be accessed in several ways:
1) By navigating to All Programs>Accessories>Ease of Access>Magnifier
2) By pressing the keyboard combination Windows key and U
3) Directly via the keyboard combination Windows key and Plus Sign (+)
Launching the magnifier tool places a Toolbox on the screen from which preferences and options can be selected. Click on the minus and plus icons to adjust levels of magnification (up to 16x), and on the gear icon to access additional options:
- Full-screen mode – To magnify the entire screen.
- Lens mode – To magnify a section or specific area of the screen via a rectangular box (or lens) which moves around with the mouse pointer.
- Docked mode – Stationary area docked across the top of the screen: scroll up and down inside the magnified area.
Here is a list of additional keyboard shortcuts to configure/manage Windows Magnifier:
Personally, I much prefer using a freeware alternative called OneLoupe which is specifically designed with the emphasis on quick and easy on-demand access. You can read through my review of OneLoupe screen magnifier here… OneLoupe: Simple alternative screen magnifier.

